Showing posts with label Purple. Show all posts

December 28, 2014

Summery "Scallops"

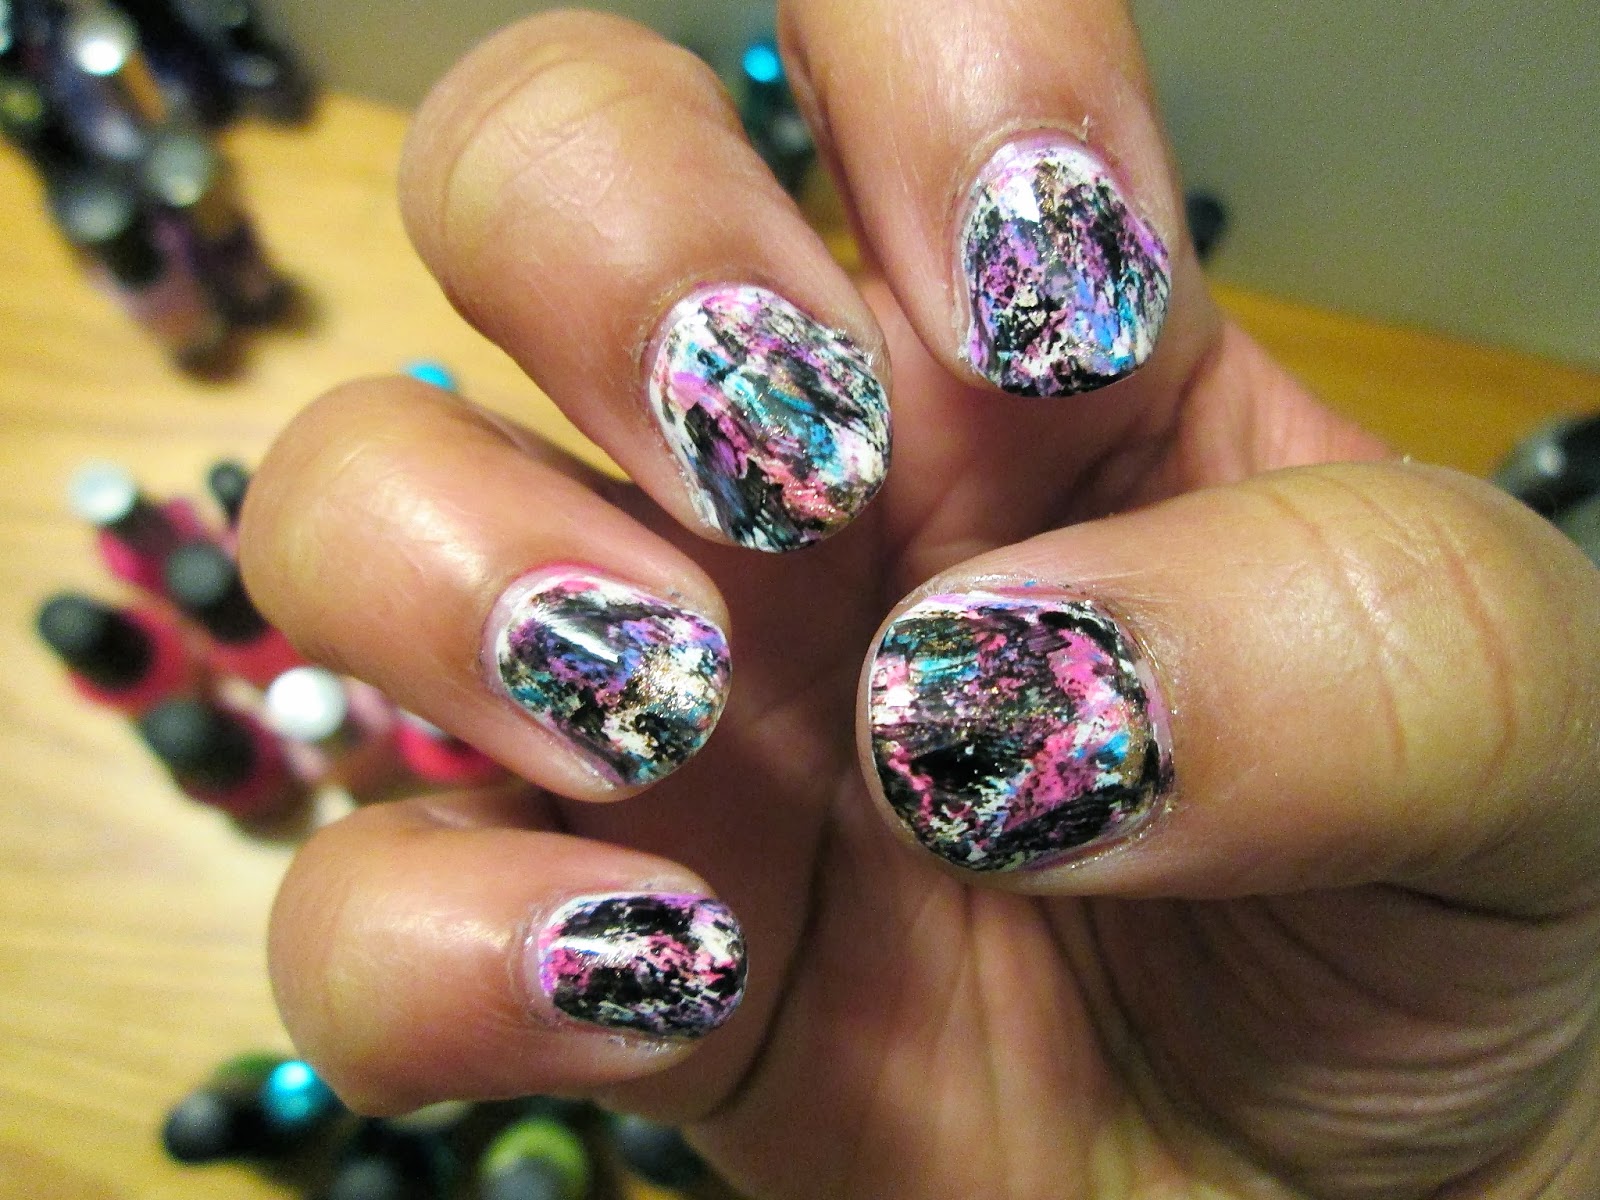
Love & Beauty Lavender, Color Club Bright Pink, Kiss Stripers in Soft Blue and Light Green
This is one of those designs that started as one thing, but ended up being something completely different. I originally wanted to do something like a scalloped border around all of my nails, but I got halfway through my thumbnail, and decided to stop. I quite liked just one side being painted. I thought it edged up a fairly pink and pastel-heavy look.
This was one of my first designs of the summer, and it made me feel cheery whenever I looked at it. Next time I do something like this, I think I'll add some glitter, perhaps over the base, or outlining the "scallops."


Chip Off the Old Color Block

China Glaze That's Shore Bright and Tinsel Town, Sally Hansen Sun Kissed
I needed a change. My go-to color combo of blue, pink, and maybe another color was dragging me down. So I decided to use orange, which I rarely pull out of my stash, especially along with purple! I just went for a simple color block using masking tape to create a two-tone mani.
It looked good that way, but I needed a bit of sparkle. So I opted for a gritty silver from China Glaze. I freehanded the silver bits, and finished off with a thick coat of Seche Vite.
The result is an eye-catching, color blocked mani that pushed me out of my comfort zone. I even got compliments from a potential employer during a Skype interview!


Pastel Sponging

Sally Hansen Lightening, Love & Beauty Sky Blue, NYC Times Square Tangerine Creme, Revlon Empower

I stand by what I said. The makeup sponge truly is a wonderful tool. I cannot stress how much I love manis that look complicated, but are extremely simple. There is also plenty of room for customization with looks such as this one. It's a great way to test out those unopened bottles, or to experiment with blend and formulas.
In my case, I knew I wanted to use these colors, but I didn't feel like creating any too involved. I also just wanted to see how these colors mix and play together. All I did was paint the colors in quadrants on the makeup sponge and stamp it, making sure to cover the nail. It helps to paint a single coat of the lightest color as a base, but if you'd like a more sheer look, simply sponge over a clear base or nude.


Read All About It

Base: China Glaze That's Shore Bright

Polishes: China Glaze Nude, Too Yacht to Handle (Please ignore those struggling cuticles)

I did it! I finally had a couple of successful attempts at newspaper nails, and I want to share the results. For both manis, I used pages from The Bowdoin Orient. After letting my base completely dry (topcoat optional), I cut small square shapes (about 15), and dipped them in rubbing alcohol. Holding the newspaper square with tweezers, I pressed it onto my nail and held it for 20 seconds. When removing the newspaper, be sure to peel it off (do NOT wipe, otherwise the ink will smear). Seal it in immediately with a thick top coat, and repeat!
Because newspaper is so thin, I found it worked best to find text that did not have much type or ink on the back side of the page. I made that mistake, and the ink from a cartoon bled through the words I was attempting to transfer.
I love how these manis came out, but it's clear I need more practice in orienting the words. I'm glad the effect remains the same even when the words are backward!

January 28, 2014

It's my first Blogiversary!

Find a full list of polishes used at the end of this post!

That's right! Nails in D Major is a year old today!

I'm so thankful for all the support and encouragement that I've received over the past year. Without that extra push to create a "big girl blog," I likely would not be pushing myself to become a better artist every day.

On to the nails!
I wanted to do something cutesy and special, so I whipped up my favorite: a mix & match mani! Every design was created with a dotting tool. I love love love the little cupcake on my ring finger. I'm quite obsessed with it, so do not be surprised if you see a full cupcake mani soon! Because cupcakes are so simple to create (trust me, they're much easier than you think), there are a ton of tutorials on YouTube, and it shouldn't be hard to find one that works for your type of nail!
I'm not going to lie: the number 1 on my index finger was such a pain to get right. And it still did not turn out as clean as I would have liked it to be. Nevertheless, I am happy that my first foray into lettering was not a complete failure, and I'm so pumped to try again (and get better! ;))

It's been a wonderful year, and I look forward to many more!
Instagram: @donithax

List of polishes:
Base: Wet 'N Wild En Voyage
Sinful Colors Snow Me White
China Glaze It's a Trap-eze
Wet 'N Wild Candylicious
Wet 'N Wild Tickled Pink
KleanColor Red Alert
Essie Devil's Advocate


Yay, super-saturation!

January 27, 2014

Neon-Metallic Fusion Part II

See part 1 here.

Essie Devil's Advocate with China Glaze Icicle, That's Shore Bright, Flip Flop Fantasy and Too Yacht to Handle

This color scheme may seem familiar, as these are the exact same colors I used in my Deconstructed Roses manicure. I was only allowed so many nail polishes in my carry-on, so I just grabbed my favorites, and that was that.
In a way, it was more challenging trying to think of something different to do with the same colors, but I just picked up a dotting tool and did whatever felt natural. Everything was done with a dotting tool (someday I'll graduate to brushes...), so it was super simple to create this funky mani. On my thumb and ring finger, I did the dots in straight rows, as normal. I was going to leave them as accent nails, but it was too tempting to just use the grid as a pattern for more chevrons! I'll be using that as a tool from now on!


November 23, 2013

Chaotic Graffiti Nails

Sinful Colors Snow Me White, China Glaze That's Shore Bright and Goldie But Goodie, Sally Hansen Blue Me Away!, Wet 'N Wild Candylicious, and L.A. Colors Circuits
 Here's the story behind these nails: I had done this beautiful matte color blocking manicure, and I COULD HAVE SWORN that my nails were dry, but because there were so many layers of paint on my nails (from the top coat between tapings), they ended up looking like crap by the end of the day.
So I scrapped those nails, and decided to try something different. I saw this Chalkboard Nails tutorial, and decided that I wanted to give it a shot (it looked very doable, and I didn't have much time).
I love how they turned out, though they're not quite what the tutorial called for. I just loved layering the colors, and the barely-any-polish-on-the-brush technique.
My mom said that they are "beautiful and absolute chaos," and I have to agree.


Deconstructed Roses

Essie Devil's Advocate with China Glaze Flip Flop Fantasy and That's Shore Bright, Wet 'N Wild I Need A Refresh-mint
 This design was inspired by a post at Paulina's Passions, one of my favorite blogs to follow. I was so intrigued by the kind of abstract rose that just seemed to form on the nail. I also wanted to practice painting my nails a dark color. Normally, I stay away from dark base colors because I always seem to mess up and stain my cuticles and it's an absolute nightmare. But practice makes perfect! And this was a relatively painless experience!
And it definitely helped that this is probably the best very dark plum/not quite black color ever! Devil's Advocate is so rich, and much warmer than plain black polish. It can pass for black without being so harsh. It was very smooth, and almost a one-coater, but two quick medium coats do the trick!


Simple, Yet Jazzy Tape Mani

China Glaze Nude and That's Shore Bright!, Essie Devil's Advocate

I think it's safe to say that I love these nails! I am such a fan of the color combination; I feel like any base color besides nude would be a bit overwhelming. I used scotch tape to get clean lines (and I pressed the tape strips on my hand a few times before applying to the nail, so that it did not pull up the base) with That's Shore Bright, and was initially going to leave them just two-tone.
But I got the bright idea to add some dots where the colors meet, and I'm glad I did! I feel like they really tie everything together, and make the mani that much more sophisticated!


September 9, 2013

Been There, Done That


Base: Icing Champagne Bubbles
Colors used: L.A. Colors Circuits, Revlon Empower, Sally Hansen Xtreme Wear in Purple Potion, Green with Envy and Blue Me Away!


I have done this simple nail art many times before, on my own nails, and on those of friends. It never gets old, in my opinion. I wish I had "before" pictures, so I could properly show how much I've grown since first getting into nail art.

But to review: I painted two coats of my base color. Next, I made C-shapes and almost-closed circles with a bobby pin and a dark color (This time it was a black, LA Colors' Circuits). After cleaning my bobby pin acetone, I used it to fill in the Cs and circles with bright colors. Afterward, to fill in gaps, I used the black color to make small dots and lines all over the nail.

I only had a few minutes before I had to dart off for choir rehearsal today, and this was something I knew how to do. The "inspiration" for me recreating the design came from my phone! (The case, to be specific). It looks like this:


It's kinda cool having my nails match my phone. I've gotten some positive feedback, so for future projects, I'm going to draw inspiration from other sources close to me. (Maybe outfit inspirations? Hmmm...)


July 15, 2013

Split Splat!

China Glaze Icicle,  Color Club Bright Pink, Sally Hansen Lightening, and Love & Beauty Lavender


I finally tried out splatter nails! I didn't have a straw or coffee stirrer on hand, so I used the end of a clicky pen, and that worked just fine. Cleanup was hellish, but I honestly think it was worth it. I'm such a fan of the technique.


May 6, 2013

I just kinda went for it...

China Glaze Nude with Sally Hansen Blue Me Away!, Revlon Empower  and Essie Devil's Advocate
Yesterday, I worked on a lab report until I couldn't see straight, so I decided to take a break and do my nails (slash watch the Amazing Race season finale). All I knew was that I wanted to use the nude from China Glaze that my friend recently gave me. I then picked three contrasting colors and did whatever came to mind with a small nail art brush and my trusty dotting tools.


I like how they turned out: a bit modern, yet abstract.

in indirect sunlight

I can never resist a full hand of dots, so behold my left hand: 


April 22, 2013

Leopards at Sunset

China Glaze Sun Worshipper, China Glaze Snap My Dragon, and Wet 'N Wild En Voyage with Love & Beauty Lavender
Just wanted to do a quick post showcasing these new nails! I wanted to do something special for myself because I've been so busy lately, I needed to de-stress. Also, I'm so in love with these nails! They're definitely bright and full of fun! I wish I'd gotten a swatch of Sun Worshipper (the orange)! I almost threw up it was so bright and fabulous and perfect.
I hope these nails last forever (come on, Seche Vite, work your magic)!


March 24, 2013

A+ for Effort

Love & Beauty Lavender with Revlon Empower and Wet 'N Wild En Voyage

So. Today was a rough day in the nail department. I got real inspired by this tutorial, and decided to attempt my first water marble since 2010. It was so bad, I wish I could have taken pictures, but everything was covered in nail polish-watery goop. I couldn't get the polish to spread for the life of me! I may or may not be traumatized. I'll just have to practice, and try out some tricks to get it to work. 

So after that was all cleaned up, I got to practice my gradients, which I suck at. And lo and behold, they didn't come out horribly! Even though I was going for a smoother gradient (like my pinkie nail), I really like the harsher transitions. It's nice. But cleanup was/is a mess. I still can't get all of the polish off of my cuticles. I'm not even mad, though. After spending hours on my nails, I just decided not to sweat it, and let them be.


March 18, 2013

ASB Nails!


Nicole by OPI's A Phil's Paradise with Revlon Empower and Essie Devil's Advocate
For the first week of my spring break this year, I took a trip with 11 other Bowdoin students to New York City to participate in an Alternative Spring Break (ASB) trip. We volunteered as teaching assistants in an elementary school in the Bronx, and did a week long service project in Harlem. I had such an amazing time, and I made so many new friends. It's hard to put into words just how blessed I feel to have gone to NYC.
I did the nails above on the first night, thinking I'd do something fun and simple (and quick) to reflect my optimism and excitement for the week. I had just bought Empower and Devil's Advocate the day before in a Rite Aid sale, and I really wanted to use them. So I just went for it with my dotting tool, and it ended up as leopard print. Not even mad, though. I got many compliments from my second graders and other kids at the school, so it worked out. :)
  
China Glaze I Herd That with Sinful Colors Snow Me White
 I did these gold nails for my friend Tori on our last night in NYC, after a long day of volunteering and sightseeing. Since St. Patrick's Day was right around the corner, she wanted something eye-catching and sparkly. I forgot my green polish, but I Herd That seemed to do the trick. Add in a mix and match (my fave), and we were good to go!

February 19, 2013

Sassy & Sparkly Leopard

China Glaze I Herd That with Sally Hansen Purple Potion and Blue Me Away!

This week is definitely going to be a busy one, so I decided to take a breather and paint my nails before things really picked up. I really wish I could capture how sparkly and jewel-like these are! I really like this combo; it's very similar to these, only with gold glitter instead of silver.
Soon, I'm going to need to buy another bottle of I Herd That. I'm almost finished with it, and it's only been about 5 months... Good thing I stumbled upon this website that sells CG nail polishes for only $3.25! What up.

January 28, 2013

Shiny Geometric Print

China Glaze Icicle, Sally Hansen Blue Me Away!, and Sinful Colors Let's Talk
I remember seeing this Dressed Up Nails design a while ago, and I vowed to try it for myself. I really like how it came out! This design didn't take very long, and it was very easy to do! Even if you don't have a striper, you can use a toothpick or the end of a bobby pin. There are also brushes available for cheap online. I bought these on ebay for about 2 dollars!

ColorBlocking!

China Glaze Tinsel Town, Sally Hansen Blue Me Away!, Destined Pale Yellow, and Wet 'N Wild Through the Grapevine
I LOVE THESE NAILS. They are so bright, and full of energy! Imagine having this on all 10 of your fingers! Whoo!

The Gift of All Gifts


For my Secret Snowflake gift, my proctee Sam gave me (big surprise, I know) a bottle of nail polish. It's called Purple Potion by Sally Hansen. I was actually really excited because I didn't have a color like it. Little did I know I would become transfixed by it. It's so shimmery and dreamy and iridescent. This picture can't even begin to do it justice. Love and Beauty Bronze on my thumb.

How Fast Can Donisha Paint Her Nails?


These took me all of 15 minutes, and I was quite pleased with them. I needed a new mani for a friend's birthday dinner, and I think these were just festive enough. Wet 'N Wild On A Trip with China Glaze Icicle.


Related Posts Plugin for WordPress, Blogger...