Showing posts with label Blue. Show all posts

December 28, 2014

Baby's Second Zebra Print

Sinful Colors Orange Cream, China Glaze Icicle, Kiss Striper Soft Blue
I don't know if I quite fulfilled my promise to do a zebra design with "all sorts of crazy colors," but I think I did an okay job!
I can't believe I've waited this long to try out a zebra print design, but I'm glad I did at all. It was super simple with a striper brush. All I had to do was begin the line from one side of my nail, then flick the brush toward the middle of my nail. Do this from both sides, and a couple of double stripes, and boom! Done.
This was also a good chance to practice my gradients, as they still need a bit of work. This is not a normal color combo for me, especially since the orange color made the silver glitter appear gold. But I'm not mad about it. It ended up warming and softening the mani!


Summery "Scallops"

Love & Beauty Lavender, Color Club Bright Pink, Kiss Stripers in Soft Blue and Light Green
This is one of those designs that started as one thing, but ended up being something completely different. I originally wanted to do something like a scalloped border around all of my nails, but I got halfway through my thumbnail, and decided to stop. I quite liked just one side being painted. I thought it edged up a fairly pink and pastel-heavy look.
This was one of my first designs of the summer, and it made me feel cheery whenever I looked at it. Next time I do something like this, I think I'll add some glitter, perhaps over the base, or outlining the "scallops."


Pastel Sponging

Sally Hansen Lightening, Love & Beauty Sky Blue, NYC Times Square Tangerine Creme, Revlon Empower

I stand by what I said. The makeup sponge truly is a wonderful tool. I cannot stress how much I love manis that look complicated, but are extremely simple. There is also plenty of room for customization with looks such as this one. It's a great way to test out those unopened bottles, or to experiment with blend and formulas.
In my case, I knew I wanted to use these colors, but I didn't feel like creating any too involved. I also just wanted to see how these colors mix and play together. All I did was paint the colors in quadrants on the makeup sponge and stamp it, making sure to cover the nail. It helps to paint a single coat of the lightest color as a base, but if you'd like a more sheer look, simply sponge over a clear base or nude.


Read All About It

Base: China Glaze That's Shore Bright

Polishes: China Glaze Nude, Too Yacht to Handle (Please ignore those struggling cuticles)

I did it! I finally had a couple of successful attempts at newspaper nails, and I want to share the results. For both manis, I used pages from The Bowdoin Orient. After letting my base completely dry (topcoat optional), I cut small square shapes (about 15), and dipped them in rubbing alcohol. Holding the newspaper square with tweezers, I pressed it onto my nail and held it for 20 seconds. When removing the newspaper, be sure to peel it off (do NOT wipe, otherwise the ink will smear). Seal it in immediately with a thick top coat, and repeat!
Because newspaper is so thin, I found it worked best to find text that did not have much type or ink on the back side of the page. I made that mistake, and the ink from a cartoon bled through the words I was attempting to transfer.
I love how these manis came out, but it's clear I need more practice in orienting the words. I'm glad the effect remains the same even when the words are backward!

January 27, 2014

Neon-Metallic Fusion Part II

See part 1 here.

Essie Devil's Advocate with China Glaze Icicle, That's Shore Bright, Flip Flop Fantasy and Too Yacht to Handle

This color scheme may seem familiar, as these are the exact same colors I used in my Deconstructed Roses manicure. I was only allowed so many nail polishes in my carry-on, so I just grabbed my favorites, and that was that.
In a way, it was more challenging trying to think of something different to do with the same colors, but I just picked up a dotting tool and did whatever felt natural. Everything was done with a dotting tool (someday I'll graduate to brushes...), so it was super simple to create this funky mani. On my thumb and ring finger, I did the dots in straight rows, as normal. I was going to leave them as accent nails, but it was too tempting to just use the grid as a pattern for more chevrons! I'll be using that as a tool from now on!


January 4, 2014

Just Plain Sophisticated

Essie Devil's Advocate, China Glaze Too Yacht to Handle, and China Glaze Icicle

As you all know, I'm such a fan of manicures that look like they took forever, but they really didn't. That's exactly what this is! If you have a couple colors of polish, some Scotch tape lying around, and a dotting tool (or make your own, if you don't have one), you can recreate your own version of this manicure within a half hour.
Instead of using a nude polish as a base, as I did in this tape mani, I just put on a couple layers of base coat (I use OPI Matte Nail Envy), and let it dry completely before proceeding. Granted, this might not be the best option if you have staining from a previous manicure. If you do have staining, I would suggest buffing your clean dry nails just a little bit to see if you can buff away the surface stains. Too much buffing will weaken your nails, and if the stains do not readily come out, just swipe on a thin coat of a nude polish (for this look), or your favorite creme.
Once the base coat dried, I taped off the bottom half of my nails on a diagonal, and painted Devil's Advocate on my tips, enough for opacity. I recommend putting the tape on your hand before putting it on the nails, because Scotch tape will readily rip up your base coat! I loved the look with the plain plum tips, but I tested out the dots on my left hand, and loved it even more! The dots can also function to help cover up a crooked tape line, or other tiny mistakes. It's a win-win! I finished with a coat of Seche Vite, and boom! Done!
I hope you enjoy these nails! For more manicures that don't make my main blog, in addition to mani updates right after I complete them, follow me on Instagram @donithax!


November 23, 2013

Chaotic Graffiti Nails

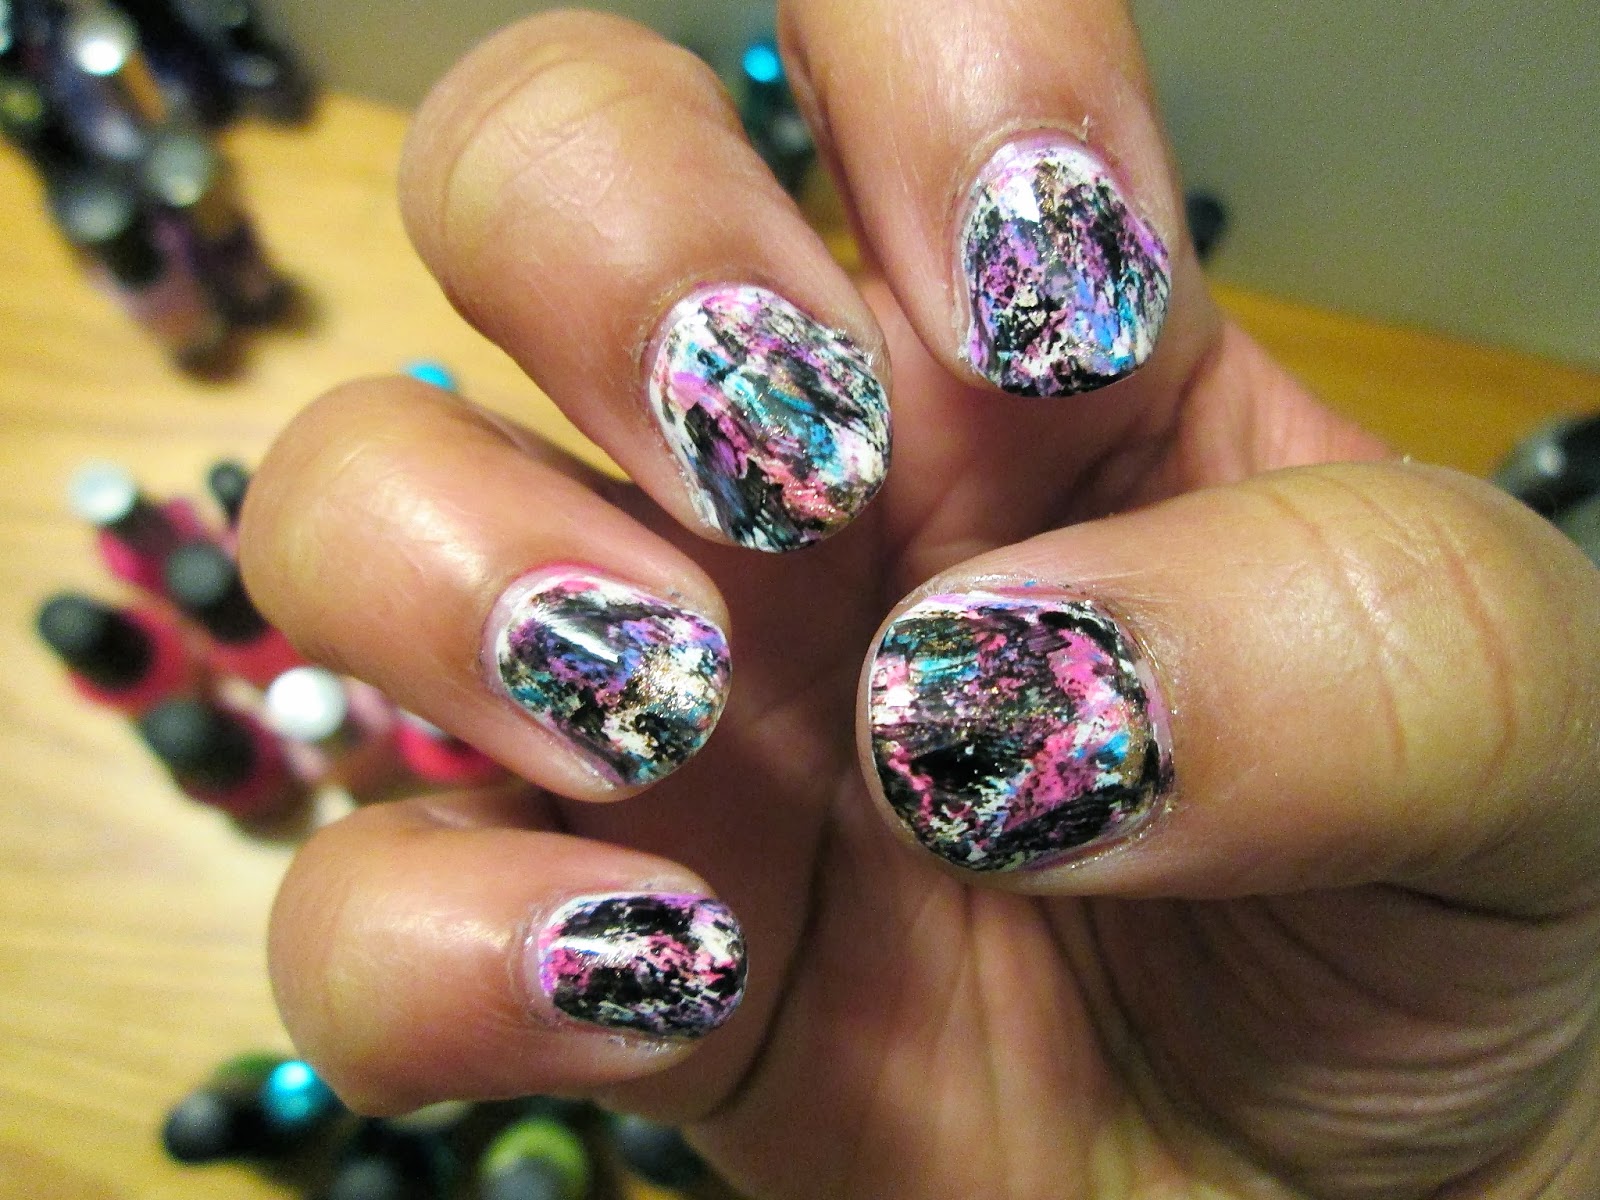
Sinful Colors Snow Me White, China Glaze That's Shore Bright and Goldie But Goodie, Sally Hansen Blue Me Away!, Wet 'N Wild Candylicious, and L.A. Colors Circuits
 Here's the story behind these nails: I had done this beautiful matte color blocking manicure, and I COULD HAVE SWORN that my nails were dry, but because there were so many layers of paint on my nails (from the top coat between tapings), they ended up looking like crap by the end of the day.
So I scrapped those nails, and decided to try something different. I saw this Chalkboard Nails tutorial, and decided that I wanted to give it a shot (it looked very doable, and I didn't have much time).
I love how they turned out, though they're not quite what the tutorial called for. I just loved layering the colors, and the barely-any-polish-on-the-brush technique.
My mom said that they are "beautiful and absolute chaos," and I have to agree.


Deconstructed Roses

Essie Devil's Advocate with China Glaze Flip Flop Fantasy and That's Shore Bright, Wet 'N Wild I Need A Refresh-mint
 This design was inspired by a post at Paulina's Passions, one of my favorite blogs to follow. I was so intrigued by the kind of abstract rose that just seemed to form on the nail. I also wanted to practice painting my nails a dark color. Normally, I stay away from dark base colors because I always seem to mess up and stain my cuticles and it's an absolute nightmare. But practice makes perfect! And this was a relatively painless experience!
And it definitely helped that this is probably the best very dark plum/not quite black color ever! Devil's Advocate is so rich, and much warmer than plain black polish. It can pass for black without being so harsh. It was very smooth, and almost a one-coater, but two quick medium coats do the trick!


September 9, 2013

Been There, Done That


Base: Icing Champagne Bubbles
Colors used: L.A. Colors Circuits, Revlon Empower, Sally Hansen Xtreme Wear in Purple Potion, Green with Envy and Blue Me Away!


I have done this simple nail art many times before, on my own nails, and on those of friends. It never gets old, in my opinion. I wish I had "before" pictures, so I could properly show how much I've grown since first getting into nail art.

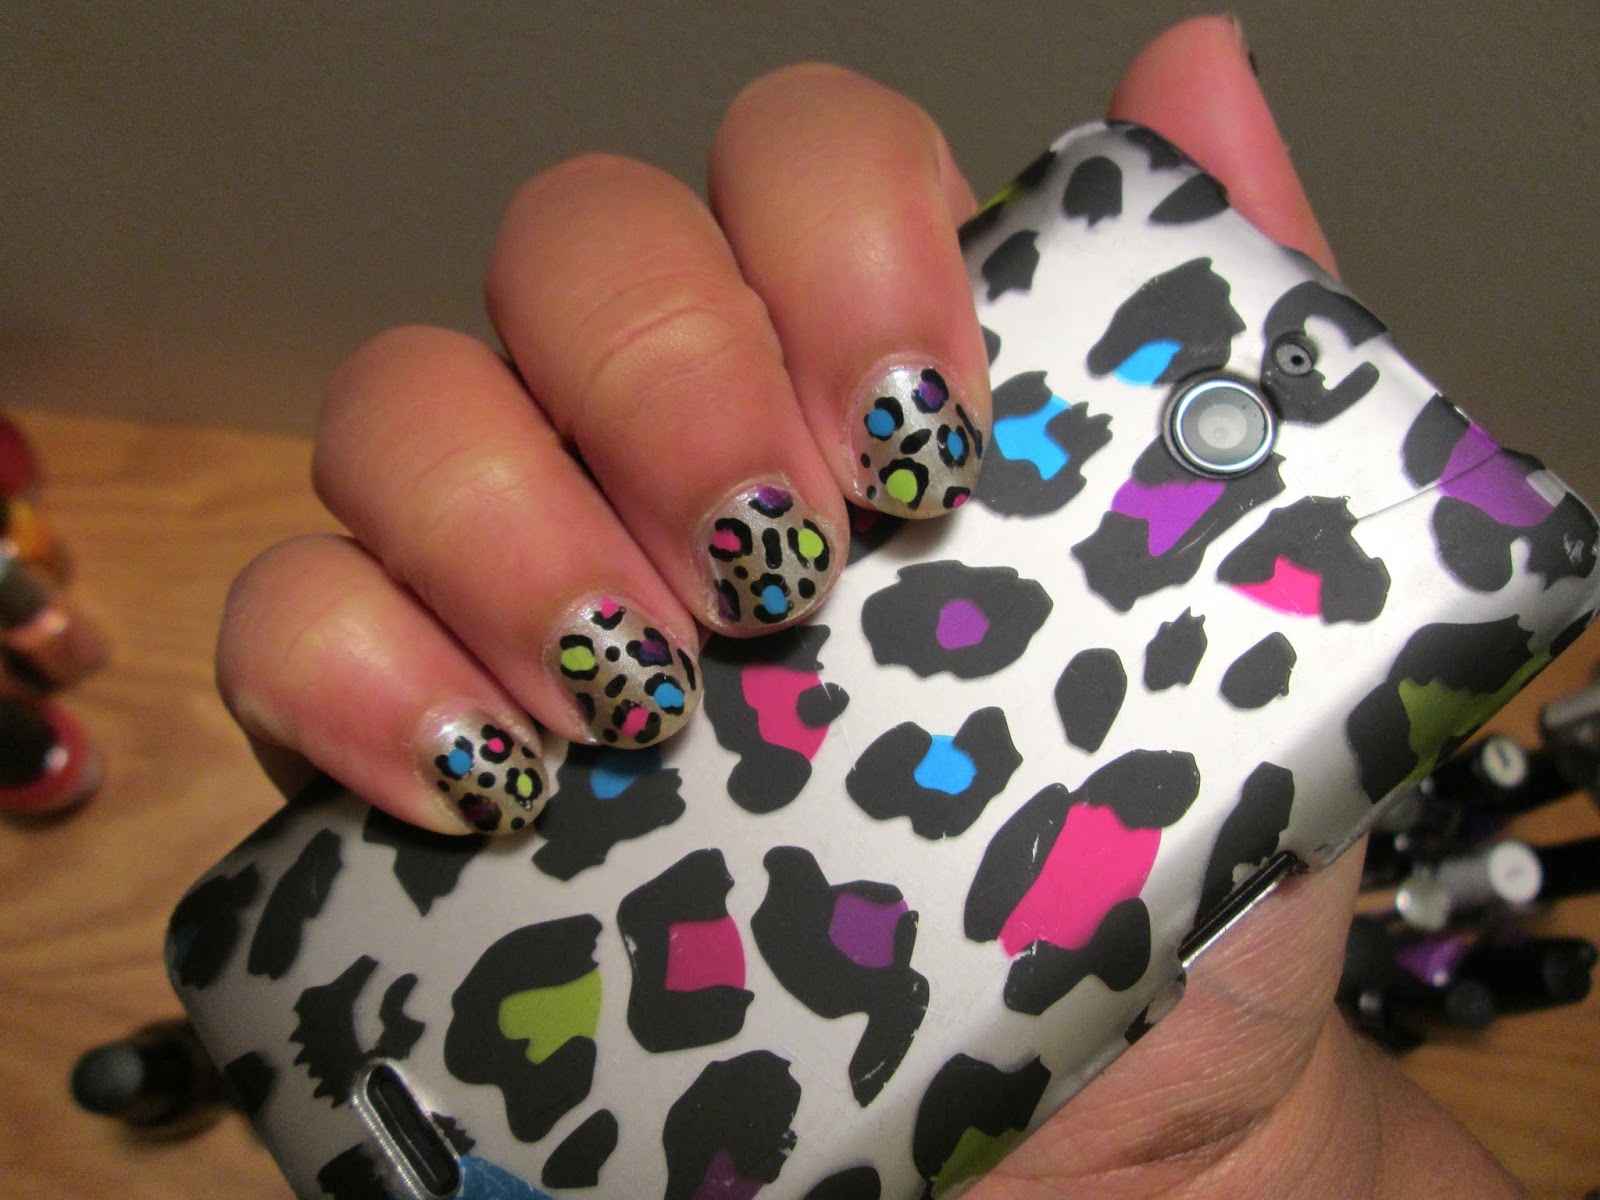
But to review: I painted two coats of my base color. Next, I made C-shapes and almost-closed circles with a bobby pin and a dark color (This time it was a black, LA Colors' Circuits). After cleaning my bobby pin acetone, I used it to fill in the Cs and circles with bright colors. Afterward, to fill in gaps, I used the black color to make small dots and lines all over the nail.

I only had a few minutes before I had to dart off for choir rehearsal today, and this was something I knew how to do. The "inspiration" for me recreating the design came from my phone! (The case, to be specific). It looks like this:


It's kinda cool having my nails match my phone. I've gotten some positive feedback, so for future projects, I'm going to draw inspiration from other sources close to me. (Maybe outfit inspirations? Hmmm...)


August 30, 2013

Black & White Glitters Rule

Love & Beauty Sky Blue and Maybelline Color Show Blue Marks the Spot
Blue Marks the Spot is in the same Polka Dots collection as Clearly Spotted, only the base is a very sheer blue jelly. I tried using BMtS on its own, but it likely would have taken me 6 or 7 coats to build up the base. So I used a creamy sky blue as "underwear." I love the effect: some areas are darker blue, because of the dabbing motion I used when painting BMtS.
I really like the different sized glitters in this collection, and I they all seem to come out of the bottle fairly easily. I do dab them on, but it's only because I don't have the patience to build many thin layers.


Quick Leopard Mani

China Glaze Desert Sun, NYC Skin Tight Denim Creme, Destined Pale Yellow

This is a color combination that is a bit different from what I usually go for. I love the way these three shades complement one another, though. Also, I hope I'm not losing my touch for leopard print. These nails are struggling a bit in that area, but I just need to practice (as if I needed another excuse to paint my nails)!


Experimental Sponging


Here are some pictures of nails I did one night when I couldn't sleep. They are very messy, and I don't think that the pictures do them any justice. I also topped them with a coat of Sally Hansen Disco Ball, which made everything "pop."
Full list of polishes used:
Sally Hansen Lightening (yellow base)
Love & Beauty Sky Blue
NYC Times Square Tangerine Creme (orange)
Revlon Empower (dark-ish hot pink)

July 23, 2013

Feature Presentation: Clearly Spotted

Nicole by OPI Candid Cameron and Maybelline Color Show Clearly Spotted
 I have been dying to try any of the Maybelline Color Show polishes, so when I saw them on sale at Walmart for only $2 the other day, I couldn't resist picking one up. Clearly Spotted immediately caught my eye; it reminded me of Lynnderella's Connect the Dots, which has eluded me for almost a year. The glitter is comprised of black and white hex and round glitters of different sizes, all suspended in a clear base.

I decided to layer it over Candid Cameron, which already has a bit of shimmer in it, and the end result is kind of blowing my mind. My camera cannot do it justice, but trust me on this: when my nails catch the light, it's damn near blinds me.
I'm really looking forward to combining this polish with others for different designs. What a great/cheap addition to my collection!


July 10, 2013

The Brightest Ever?

Wet 'N Wild Candy-licious and Sinful Colors Pinky Glitter, with Kiss Striper in Soft Blue and Kiss Striper in [some unnamed light green]
It has definitely been a busy and crazy summer, so I wanted my nails to reflect that. I love this color combination!
I did these in about 25 minutes, right before I left to lead a study session. I liked the rush of not thinking about a design beforehand, and just painting whatever.
At the same time, though, I feel like I'm stagnating, depending on a few colors and designs. I really want to push myself, so expect something completely different for my next post (whenever that may be!)


P.S. Follow me on Instagram @donithax

June 23, 2013

New Job, New Manicure, New Me

L.A. Colors Circuits, Sally Hansen Blue Me Away! and Disco Ball, Sinful Colors Snow Me White

Tomorrow, I begin my summer job, working as a TA (Teaching Assistant) for Upward Bound! We just finished a week of training, and the students arrive tomorrow! I'm so excited to learn, grow, and challenge myself in a new way! That being said, I feel like this summer is going to be a busy one, so I needed my nails to match! I am exhausted, so I fell on a go-to: a mix and match!


I fell in love with the glitter (Disco Ball, which I inexplicably overlook all the time) over a solid black polish, and just went for it with the designs. Nothing earth-shattering here, but I'm so thrilled with the combo of polishes, along with the matte finish. I would use it more often, but it takes forever to dry, and it always smears (#struggles)!


That's it from me! I'll try my best to keep up with weekly posts, but with the way my schedule is looking, painting my nails may have to be put on the back burner :(


June 12, 2013

Old Faithful(s)

Nails, Inc. Haymarket, Revlon Empower, and China Glaze Tinsel Town
Hi, everyone! I'm back at home in Atlanta for a few days before I head back up to Maine for the summer. I can only bring a few polishes in my carry-on, so I stick with my favorites (the polishes with which I know I can create something without stressing myself out). So I know you've all seen these colors before, but I really wanted to try out this Chalkboard Nails design for Nails by Kayla Shevonne. Even though I couldn't find any tape, I thought I'd just go for it. (I just went back over the lines with Haymarket at the bottom). I really needed to paint my nails because they'd been bare for a little over two weeks! 
I have also been waiting that long to try Out the Door Topcoat. My impression: it definitely dries fast, with great shine, but it's a little thin. Shown are two coats. My nails are still fairly bumpy/gritty (due in no small part to the glitter of Tinsel Town), and I'll likely need another coat or two to smooth things out. I just can't stop thinking of my trusty Seche Vite that smoothed everything over in 1-2 coats...


All in all, this color combo is a favorite of mine, and I'm pleased with what I've done, especially considering that these photos include no cleanup! I ran out of nail polish remover, so I made sure to be careful when painting. It's comforting to know that I can actually paint my nails properly. I've been using that pure acetone as a crutch!


May 27, 2013

The Makeup Sponge is a Wonderful Tool


These were so simple, and took me less than 30 minutes (including drying time)! All I needed was a makeup sponge! Here are the colors I used:

L to R: Wet 'N Wild I Need A Refresh-mint, China Glaze Snap My Dragon, Sally Hansen Lightening, Sally Hansen Green with Envy, and Color Club striper in Fine Gold
More after the jump! (Click "Read More" below)

May 23, 2013

Cheap in Price, not Quality

L.A. Colors Current and Jungle Fever, China Glaze I Herd That


I got these L.A. Colors polishes from Dollar Tree a few months ago, but I hadn't tried them yet. My friend Katie convinced me to go for the green, because that's probably the last color I go for when painting my nails.
These polishes went on better than I expected. I've used L.A. Colors polishes before, but I still breathed a sigh of relief when they didn't streak their way onto my nails. Probably the best thing to come out of this experience is Jungle Fever, which is my new favorite jade-teal shade. It's a jelly (albeit a fairly opaque one), which gave it great depth. I love it.
Current is a great shade, but this is four coats on my thumb, index finger, and pinky, and there is still a very visible nail line. Maybe if I layer it over a coat or two of a nude, I will fare better, but this will do for now.


May 21, 2013

Summer is Here!

Wet 'N Wild Candy-licious and Sinful Colors Pinky Glitter with Nails, Inc. Haymarket and China Glaze Tinsel Town
Hey everyone! There isn't much of a story behind these nails. I just knew I wanted something bright, bold and glittery! I love these, although I was really tired, and things got sloppy toward the end there...
But I'm not going to sweat it!


They sparkle in the sunshine, though it's been nothing but rain here in Maine... Here are a couple of [unedited] flash photos to simulate the sun rays:


That's it from me! I hope to be updating more frequently, now that school has let out, but we'll see how well that works out once I begin my job...


May 19, 2013

Concrete Roses?

Pure Ice Kiss Me Here with Wet 'N Wild Tickled Pink Roses: Revlon Empower and Nails, Inc. Haymarket

So here's what happened with these nails: I attempted "simple" roses for the millionth time, in hopes of finally getting something right. I planned to do them on all of my nails, but gave up after the accent nail. So I covered my hand in polka dots. Nice. I planned on removing these the next day, and trying a new design, but I got lazy and exams picked up, so I am still wearing these nails 6 days later...
Also, they look a bit gloopy because I tried to salvage the last of a bottle of Sally Hansen Dries Instantly with Seche Restore, but it was a no-go. It still was horribly thick, and practically dried upon contact with open air. Wonderful.
Have a blurry pic on the house:


Related Posts Plugin for WordPress, Blogger...